Angular2 Forms (Fields, Validation, Injectables & Dynamic Forms)
Setup
Stash away any items not needed for this lab
git stash
Checkout the repo at the start tag
git checkout tags/lab/forms/start -b feature/forms-lab
Start the local angular-cli server:
ng serve
Start the Data Server in new tab/console (if not already running)
npm run start-api
you should see: NG Live Development Server is running on http://localhost:4200.
A login should load! Let's get to work!

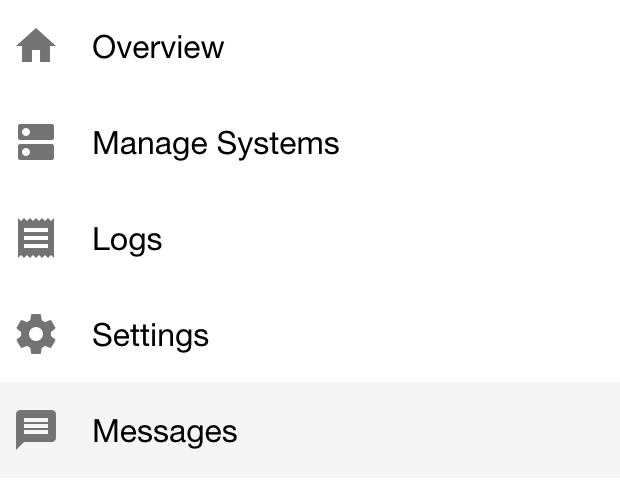
- In the left hamburger navigation go to Messages

- Click on the + in the bottom left of the screen

Files we will be working with
- You are now at the page where we will create the form. The two main files we will be changing are:
- covalent-training/src/app/messages/message/message-form/message-form.component.html
- covalent-training/src/app/messages/message/message-form/message-form.component.ts
- covalent-training/src/services/messages.service.ts
What's a Form?
A form on a web page allows a user to enter data that is sent to a server for processing
Let's try it!
Part 1 - Create the Form
Open covalent-training/src/app/messages/message/message-form/message-form.component.html
On line 20 Edit the section:
<md-card-content class="will-load">
  Put Form Here
</md-card-content>
To Be:
<md-card-content class="will-load">
<form #messageForm="ngForm">
  <md-input-container>
    <input md-input placeholder="Title" [(ngModel)]="message.title" name="title">
  </md-input-container>
</form>
</md-card-content>
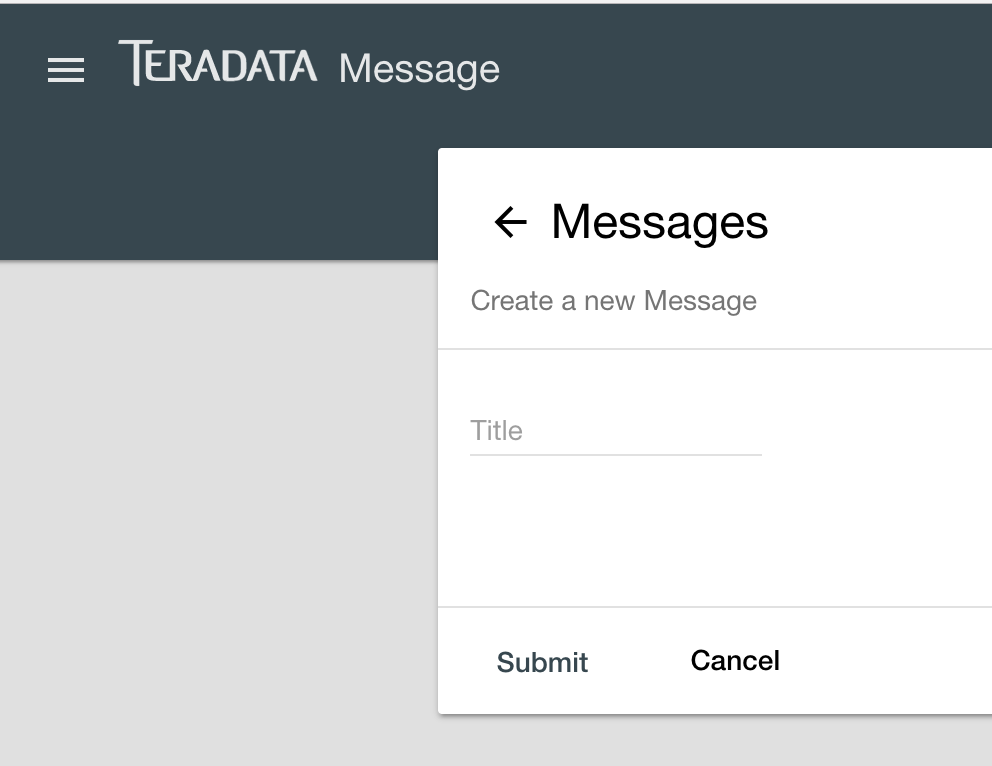
You will now have a form that looks like this:

Let's break down what we have done here
- First we created a form
<form #messageForm="ngForm"> - The
#v=thingsyntax says that we want to create a local variable for this view. In this case with namemessageForm The
="ngForm"creates an alias to ngForm, for this view, bound to the variable#messageForm. This comes from theNgForm directiveand will allow us to access the properties of the form through#messageFormNext we created the md-input-container:
<md-input-container>The
<md-input-container>is the Material Design parent of any input or textarea element. Input and textarea elements will not behave properly unless the md-input-container parent is provided.Lastly we created the input text field:
<input md-input placeholder="Title" [(ngModel)]="message.title" name="title">- Here we create an input with the
md-inputdirective. This gives us the Material spec functionality on the text field such as:- Character counter
- Auto-complete
- Search filter
- Required fields
- Password input redaction
- We give it a placeholder text (the text shown in the input box) of "Title"
[(ngModel)]="message.title"- Two-way binding ([()]) - Banana in a box syntax
- You often want to both display a data property and update that property when the user makes changes
- This means that when a user enters data into this field that it is automatically assigned to the message attribute on line 14 of covalent-training/src/app/messages/message/message-form/message-form.component.ts
- The message attribute is an interface defined on line 11 of covalent-training/src/services/messages.service.ts Notice it has an attribute named
title.export interface IMessage { id?: number; title?: string; user?: string; desc?: string; created?: any; } - We will fill in the rest of the attributes next
- First we created a form
Part 2 - Create more inputs
If needed you can checkout at this tag in lab. You don't need to checkout this tag if you successfully completed Part 1.
git checkout tags/lab/forms/createform
Open covalent-training/src/app/messages/message/message-form/message-form.component.html
On line 20 Edit the section:
<md-card-content class="will-load"> <form #messageForm="ngForm"> <md-input-container> <input md-input placeholder="Title" [(ngModel)]="message.title" name="title"> </md-input-container> </form> </md-card-content>To Be:
<md-card-content class="will-load"> <form #messageForm="ngForm"> <md-input-container> <input md-input placeholder="Title" [(ngModel)]="message.title" name="title"> </md-input-container> <md-input-container> <input md-input placeholder="Id" [(ngModel)]="message.id" name="id"> </md-input-container> <md-input-container> <input md-input placeholder="User" [(ngModel)]="message.user" name="user"> </md-input-container> <md-input-container> <input md-input placeholder="Description" [(ngModel)]="message.desc" name="desc"> </md-input-container> <md-input-container> <input md-input placeholder="Created" [(ngModel)]="message.created" name="created"> </md-input-container> </form> </md-card-content>This fills in the rest of the attributes for the interface defined on line 11 of covalent-training/src/services/messages.service.ts
export interface IMessage { id?: number; title?: string; user?: string; desc?: string; created?: any; }You will now have a form that looks like this:

Next lets add a function to capture all the values when you click the submit button
- Notice in covalent-training/src/app/messages/message/message-form/message-form.component.html on line 43 we have a button calling function submitMessage when clicked:
<button md-button color="primary" (click)="submitMessage()"> <span>Submit</span> </button> - Open covalent-training/src/app/messages/message/message-form/message-form.component.ts and at line 31 add the following:
submitMessage() {
console.log(this.message);
}
- Notice in covalent-training/src/app/messages/message/message-form/message-form.component.html on line 43 we have a button calling function submitMessage when clicked:
Open the browser debugger F12 (Windows), Right Click Inspect->Console Tab (Mac)
Fill out your form with values and click Submit

- In the debugger you will see the
messageobject captured and printed to console

Part 3 - Form Validation
If needed you can checkout at this tag in lab. You don't need to checkout this tag if you successfully completed Part 2.
git checkout tags/lab/forms/createformallfields
Open covalent-training/src/app/messages/message/message-form/message-form.component.html
On line 29 Edit the section:
<md-input-container>
<input md-input placeholder="User" [(ngModel)]="message.user" name="user">
</md-input-container>
To Be:
<md-input-container>
<input md-input
      placeholder="User"
      mdTooltip="User creating message"
      pattern="^(.*[a-z]){3}$"
      [(ngModel)]="message.user"
      #userValue="ngModel"
      name="user"
      required />
 <md-hint align="start">
    <span [hidden]="userValue.pristine || !userValue.errors?.pattern" class="tc-red-600">
      At least 3 (a-z)
    </span>
</md-hint>
</md-input-container>
Let's Breakdown what we added:
mdTooltip="User creating message"This creates a tooltip when hovering the mouse over the input fieldpattern="^(.*[a-z]){3}$"This is a Regular Expression used to validate the string pattern in the field. Can be any valid Regular Expression. In this case it is making sure there are at least 3 alpha characters used.#userValue="ngModel"This gives the input field a local variable so we can access it (see below)<span [hidden]="userValue.pristine ..."This is helper text that can be used on more complicated fields. It accesses the local variable of the field from above and checks whether there is no value or if the value matches the regex pattern to show the textrequiredThis makes the field required and the form cannot be submitted without it.

Part 4 - Submit Form
If needed you can checkout at this tag in lab. You don't need to checkout this tag if you successfully completed Part 3.
git checkout tags/lab/forms/validation
First let's make it so if the form isn't valid they can't submit it.
Open covalent-training/src/app/messages/message/message-form/message-form.component.html
On line 55 Edit the section:
<button md-button color="primary" (click)="submitMessage()">
  <span>Submit</span>
</button>
To Be:
<button md-button color="primary" [disabled]="!messageForm.valid" (click)="submitMessage()"> <span>Submit</span> </button>[disabled]="!messageForm.valid"disables the button if the form is invalid for any reason
Now let's hook up the service
Open covalent-training/src/services/messages.service.ts
Starting on line 6 change the imports from:
import { Injectable } from '@angular/core';
import { Headers } from '@angular/http';
import { HttpInterceptorService, RESTService } from '@covalent/http';
import { MOCK_API } from '../config/api.config';
To:
import { Injectable } from '@angular/core';
import { Response, Headers } from '@angular/http';
import { HttpInterceptorService, RESTService } from '@covalent/http';
import { MOCK_API } from '../config/api.config';
import { Observable } from 'rxjs/Observable';
import { Subscriber } from 'rxjs/Subscriber';
These imports will allow us to make http requests with our from data
Next on line 32 (inside the class) add the following function
public submitMessage(message: IMessage): Observable<IMessage> {
    let request: Observable<Response> = this.http.post(this.buildUrl(),
                                                        message,
                                                        this.buildRequestOptions());
  return request.map((res: Response) => {
    return <IMessage>this.transform(res);
  }).catch((error: Response) => {
    return new Observable<any>((subscriber: Subscriber<any>) => {
      try {
        subscriber.error(this.transform(error));
      } catch (err) {
        subscriber.error(error);
      }
    });
  });
}
- This method take the IMessage as a parameter. This is what you created from the values in your form
It then does and http post of that data and either gets a success back or an error.
Now lets hook this up to our component
Open covalent-training/src/app/messages/message/message-form/message-form.component.ts and at line 31 change:
submitMessage() {
  console.log(this.message);
}
To this:
submitMessage() {
  this._messagesService.submitMessage(this.message)
  .subscribe((message: IMessage) => {
    console.log("success");
  }, (error: any) => {
    console.log(error);
  });
}
Now clicking the Submit button will submit your data to the service.
If you open the console you should see the success message

- If you click the back button to go back to the list of message you should see the one you created

- And the Cancel button takes you back to the messages list
Part 5 - Show Toast/Error Message
If needed you can checkout at this tag in lab. You don't need to checkout this tag if you successfully completed Part 5.
git checkout tags/lab/forms/submitform
Open covalent-training/src/services/toast.service.ts
- Notice in this file we import from
MdSnackBarand we have anopenfunction. This open function is what will create the toast message.
- Notice in this file we import from
Open covalent-training/src/services/error.service.ts
- Notice in this file we import from
TdDialogServiceand we have anopenfunction. This open function is what will create the error dialog message.
- Notice in this file we import from
Let's hook them up!
Open covalent-training/src/app/messages/message/message-form/message-form.component.ts and at line 3 change:
import { MessagesService, IMessage, ErrorService } from '../../../../services';To this:
import { MessagesService, IMessage, ErrorService, ToastService } from '../../../../services';This allows us to use the Toast Service
Now in covalent-training/src/app/messages/message/message-form/message-form.component.ts and at line 16 change:
constructor(private _messagesService: MessagesService,
          private _errorService: ErrorService,
          private _loadingService: TdLoadingService,
          private _route: ActivatedRoute,
          private _router: Router) {
}
To this:
constructor(private _messagesService: MessagesService,
          private _errorService: ErrorService,
          private _loadingService: TdLoadingService,
          private _toastService: ToastService,
          private _route: ActivatedRoute,
          private _router: Router) {
}
This injects the ToastService so we can use it
Open covalent-training/src/app/messages/message/message-form/message-form.component.ts and at line 32 change:
submitMessage() {
  this._messagesService.submitMessage(this.message)
  .subscribe((message: IMessage) => {
    console.log("success");
  }, (error: any) => {
    console.log(error);
  });
}
To this:
submitMessage() {
    this._loadingService.register('app.job.start');
    this._messagesService.submitMessage(this.message)
    .subscribe((message: IMessage) => {
        this._loadingService.resolve('app.job.start');
        this._toastService.open('Message Created');
        this._router.navigate(['/messages']);
    }, (error: any) => {
        this._errorService.open(error);
        this._loadingService.resolve('app.job.start');
    });
}
Let's break this down:
this._loadingService.register('app.job.start');This line displays a spinner on the UI so the user know something is happening. The placement of the spinner is in covalent-training/src/app/messages/message/message-form/message-form.component.html on line 19 at<template tdLoading="app.job.start">this._messagesService.submitMessage(this.message)This line submits the message to the http service we created earlier.subscribe((message: IMessage) => {This line subscribes to the result from the Asynchronous http callthis._loadingService.resolve('app.job.start');This hides the spinner from the UIthis._toastService.open('Message Created');This pops up the toast message of successthis._router.navigate(['/messages']);This takes you back to the list of messagesThis section handles if there is an error it will popup a dialog with the error and hides the spinner
}, (error: any) => {
  this._errorService.open(error);
  this._loadingService.resolve('app.job.start');
});
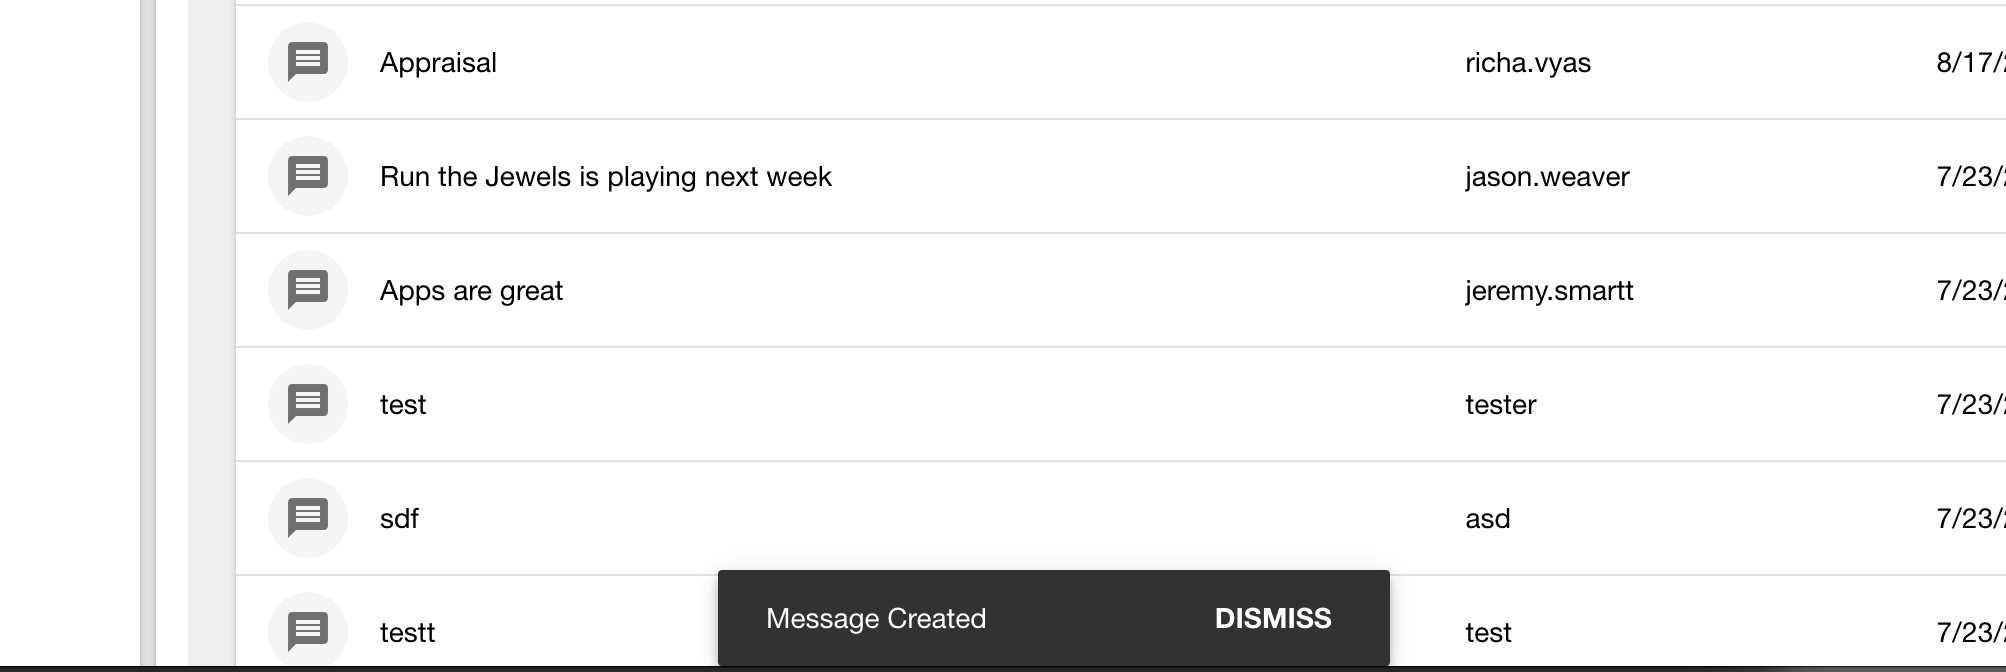
Now clicking the Submit button will submit your data to the service, redirect you to the messages list and show the toast on success
