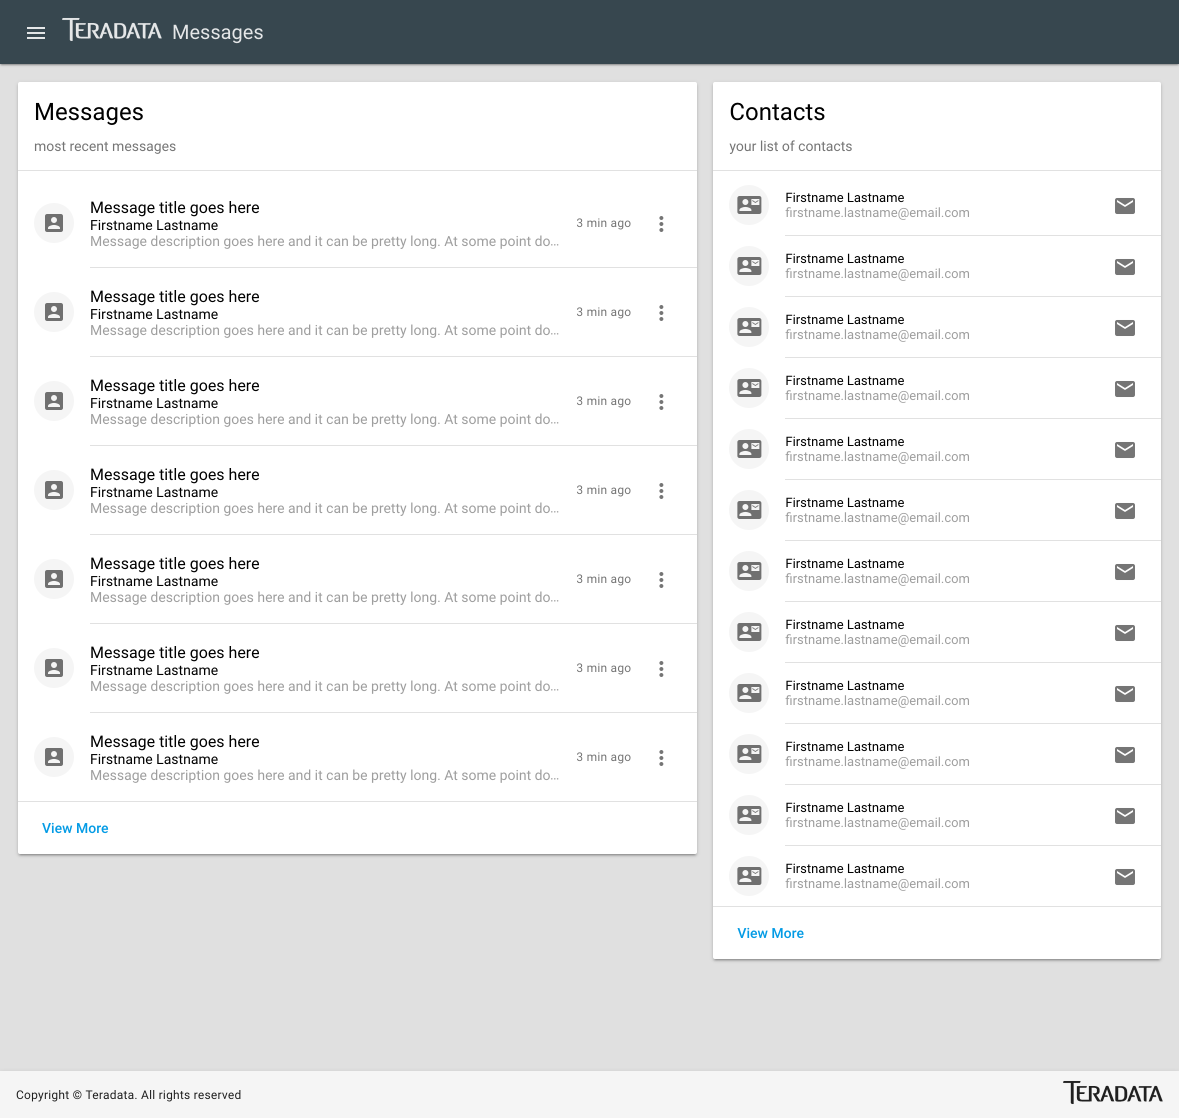
Lets create some Components & Routes
Setup
We already have the setup the prototyping session. If not, just follow these steps:
Clone the repo
git clone [email protected]:ux/covalent-training.git
cd covalent-training
Checkout the messages tag branch
git checkout tags/lab/messages/start -b feature/messages
Copy the configuration file into the source directory
cp config.js.default src/config.js
& install
npm i
start the local angular-cli server:
ng serve
you should see:** NG Live Development Server is running on http://localhost:4200. **
The dashboard after login should load! Let's get to work!

Create a new message component using CLI
So in the branch that we have checked out, we would find a folder messages with all the component files in it. The way we have created this component is simple:
ng generate component messages
The next step is add it into app.module.ts, app.routes.ts & main.ts so we can link this component somewhere.
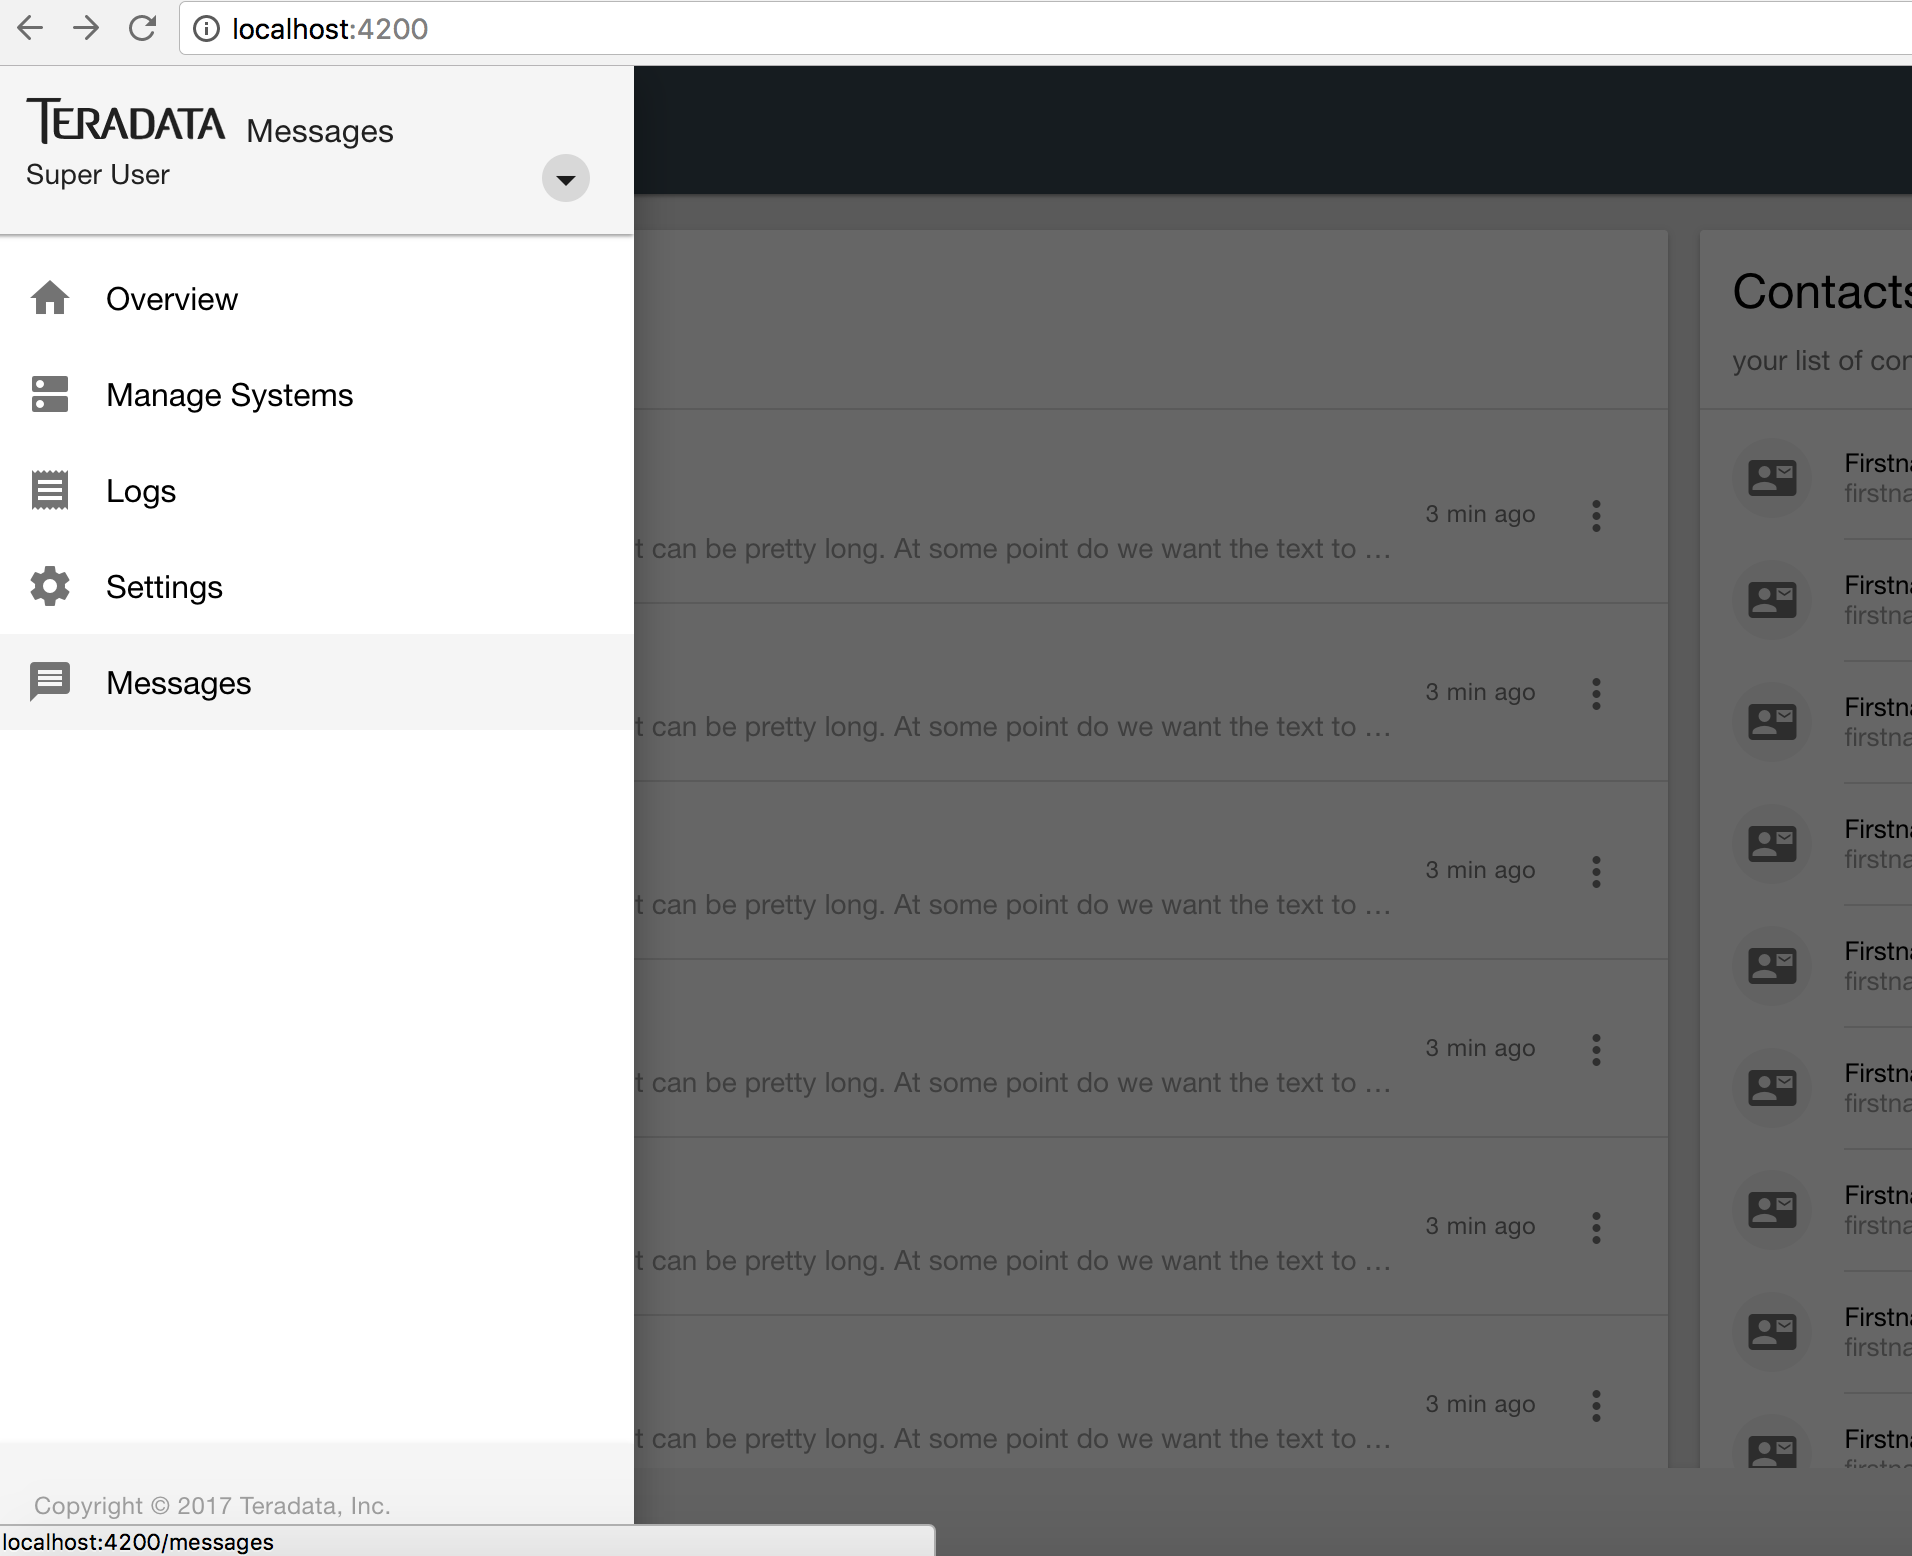
After making changes to these files, we see a message link in our side navigation menu:

Before we jump on modifying messages' html, lets talk about route changes that we did in our app.routes.ts.
Configure Routes
- import Angular RouterModule
- import guards for routes
- import components which would be associated with the routes
- define routes configuration e.g.
const routes: Routes = [
 {path: '...', component: ..., canActivate: [ ... ]},
]
- configure this const with our routes using
RouterModule.forRoot(route) - route parameters
To understand route parameters, lets look at our route configuration:
{path: 'messages', canActivate: [RootGuard], children: [
  {path: '', component: MessagesComponent},
  {path: ':id', component: MessageComponent},
]},
You might notice that the second route has a placeholder in its path called id. This allows us to have some dynamic value in our path which can later be accessed in the component we route to. Think of a message id in our case, so we can fetch the message object we want to display the details for. But before we jump into parameters, lets understand what is router and how exactly it works.
Deep Dive into Routes
Angular 2's router comes with many features for routing based on paths and loading specific components. Before spa, each page was different. Every call was a separate call and file was rendered from server doesn’t matter how much content is common between the files. That’s no more the case now. Now, we often want to split applications into multiple bundles and load them on demand. That's why routes have become such an essential feature in Angular 2 where:
- you can declaratively specify application states,
- manage state transitions while taking care of the URL,
- and load bundles on demand.
What happens after a URL is clicked?
After the Angular router takes a URL, it:
1. Applies redirects
Redirect is substitution of a URL segment where it can be a complete url change called absolute redirect or just replace a single segment with a different one called local redirect. We are gonna deal with local redirects in this section.
2. Recognizes router states
Router derives a router state from the URL. The router goes through the array of routes, one by one, checking if the URL starts with a route’s path. If one of the routes matches the path, the router state representing the future state of the application will be constructed which consists of activated routes. And each activated route can be associated with a component.
3. Runs guards and resolves data
Now as we have a future router state, the router will check that transitioning to the new state is permitted. It will do this by running guards. A guard is a function that the router runs to make sure that navigation to a certain URL is permitted.
Why guards are important?
Protecting routes is a very common & important task when building applications, as we want to prevent our users from accessing areas that they’re not allowed to access, or, we might want to ask them for confirmation when leaving a certain area. e.g. in out app.routes.ts, we have this:
{path: 'messages', canActivate: [RootGuard], children: [
  {path: '', component: MessagesComponent},
  {path: ':id', component: MessageComponent},
]},
the canActivate here shows that the guard, RootGuard, decides if the route can be activated.
There's another guard which is extremely helpful called CanDeactivate which gives us a chance to decide if we really want to navigate away from a route. There can be a page where user has unsaved information and we wanna show a message when he's navigating to a different page which eventually means he's going away from the current route.
After the router has run the guards, it will resolve the data. It looks if there's any data provided in the resolve part of route config.
4. Activates all the needed components
Every Route is associated to a Component
At this point, we have a router state. The router can now activate this state by instantiating all the needed components and placing them into appropriate router outlets which we place in templates.
5. Manages navigation
So now we have to enable navigation from this router state to another. There are two ways to accomplish this: imperatively, by calling router.navigate, or declaratively, by using the RouterLink directive.
We would talk more about router parameters & RouterLink when we implement the child route.